

How log delivery works
Delivery mode depends on your Cloudflare plan:
Flarehawk creates the required resources in your Cloudflare account when you connect.
Prerequisites
- An active Flarehawk organization. See the quickstart if you have not signed up yet.
- Permission to authorize Flarehawk for your Cloudflare account (OAuth) or to create an account API token with the scopes below.
Create the Cloudflare connection
1
Open the Connections page
In the Flarehawk dashboard, go to Manage → Connections and click Add Connection. Select Cloudflare.
2
Authenticate with Cloudflare
Recommended — Login with Cloudflare: click Login with Cloudflare in the wizard, sign in, and authorize Flarehawk for the account you want to monitor. Flarehawk stores scoped access and refresh tokens encrypted server-side and refreshes them automatically — no token to copy or rotate by hand.Alternative — API token: click Use an API token instead, create a token in the Cloudflare dashboard, then paste your Account ID and API Token into the wizard and click Test connection.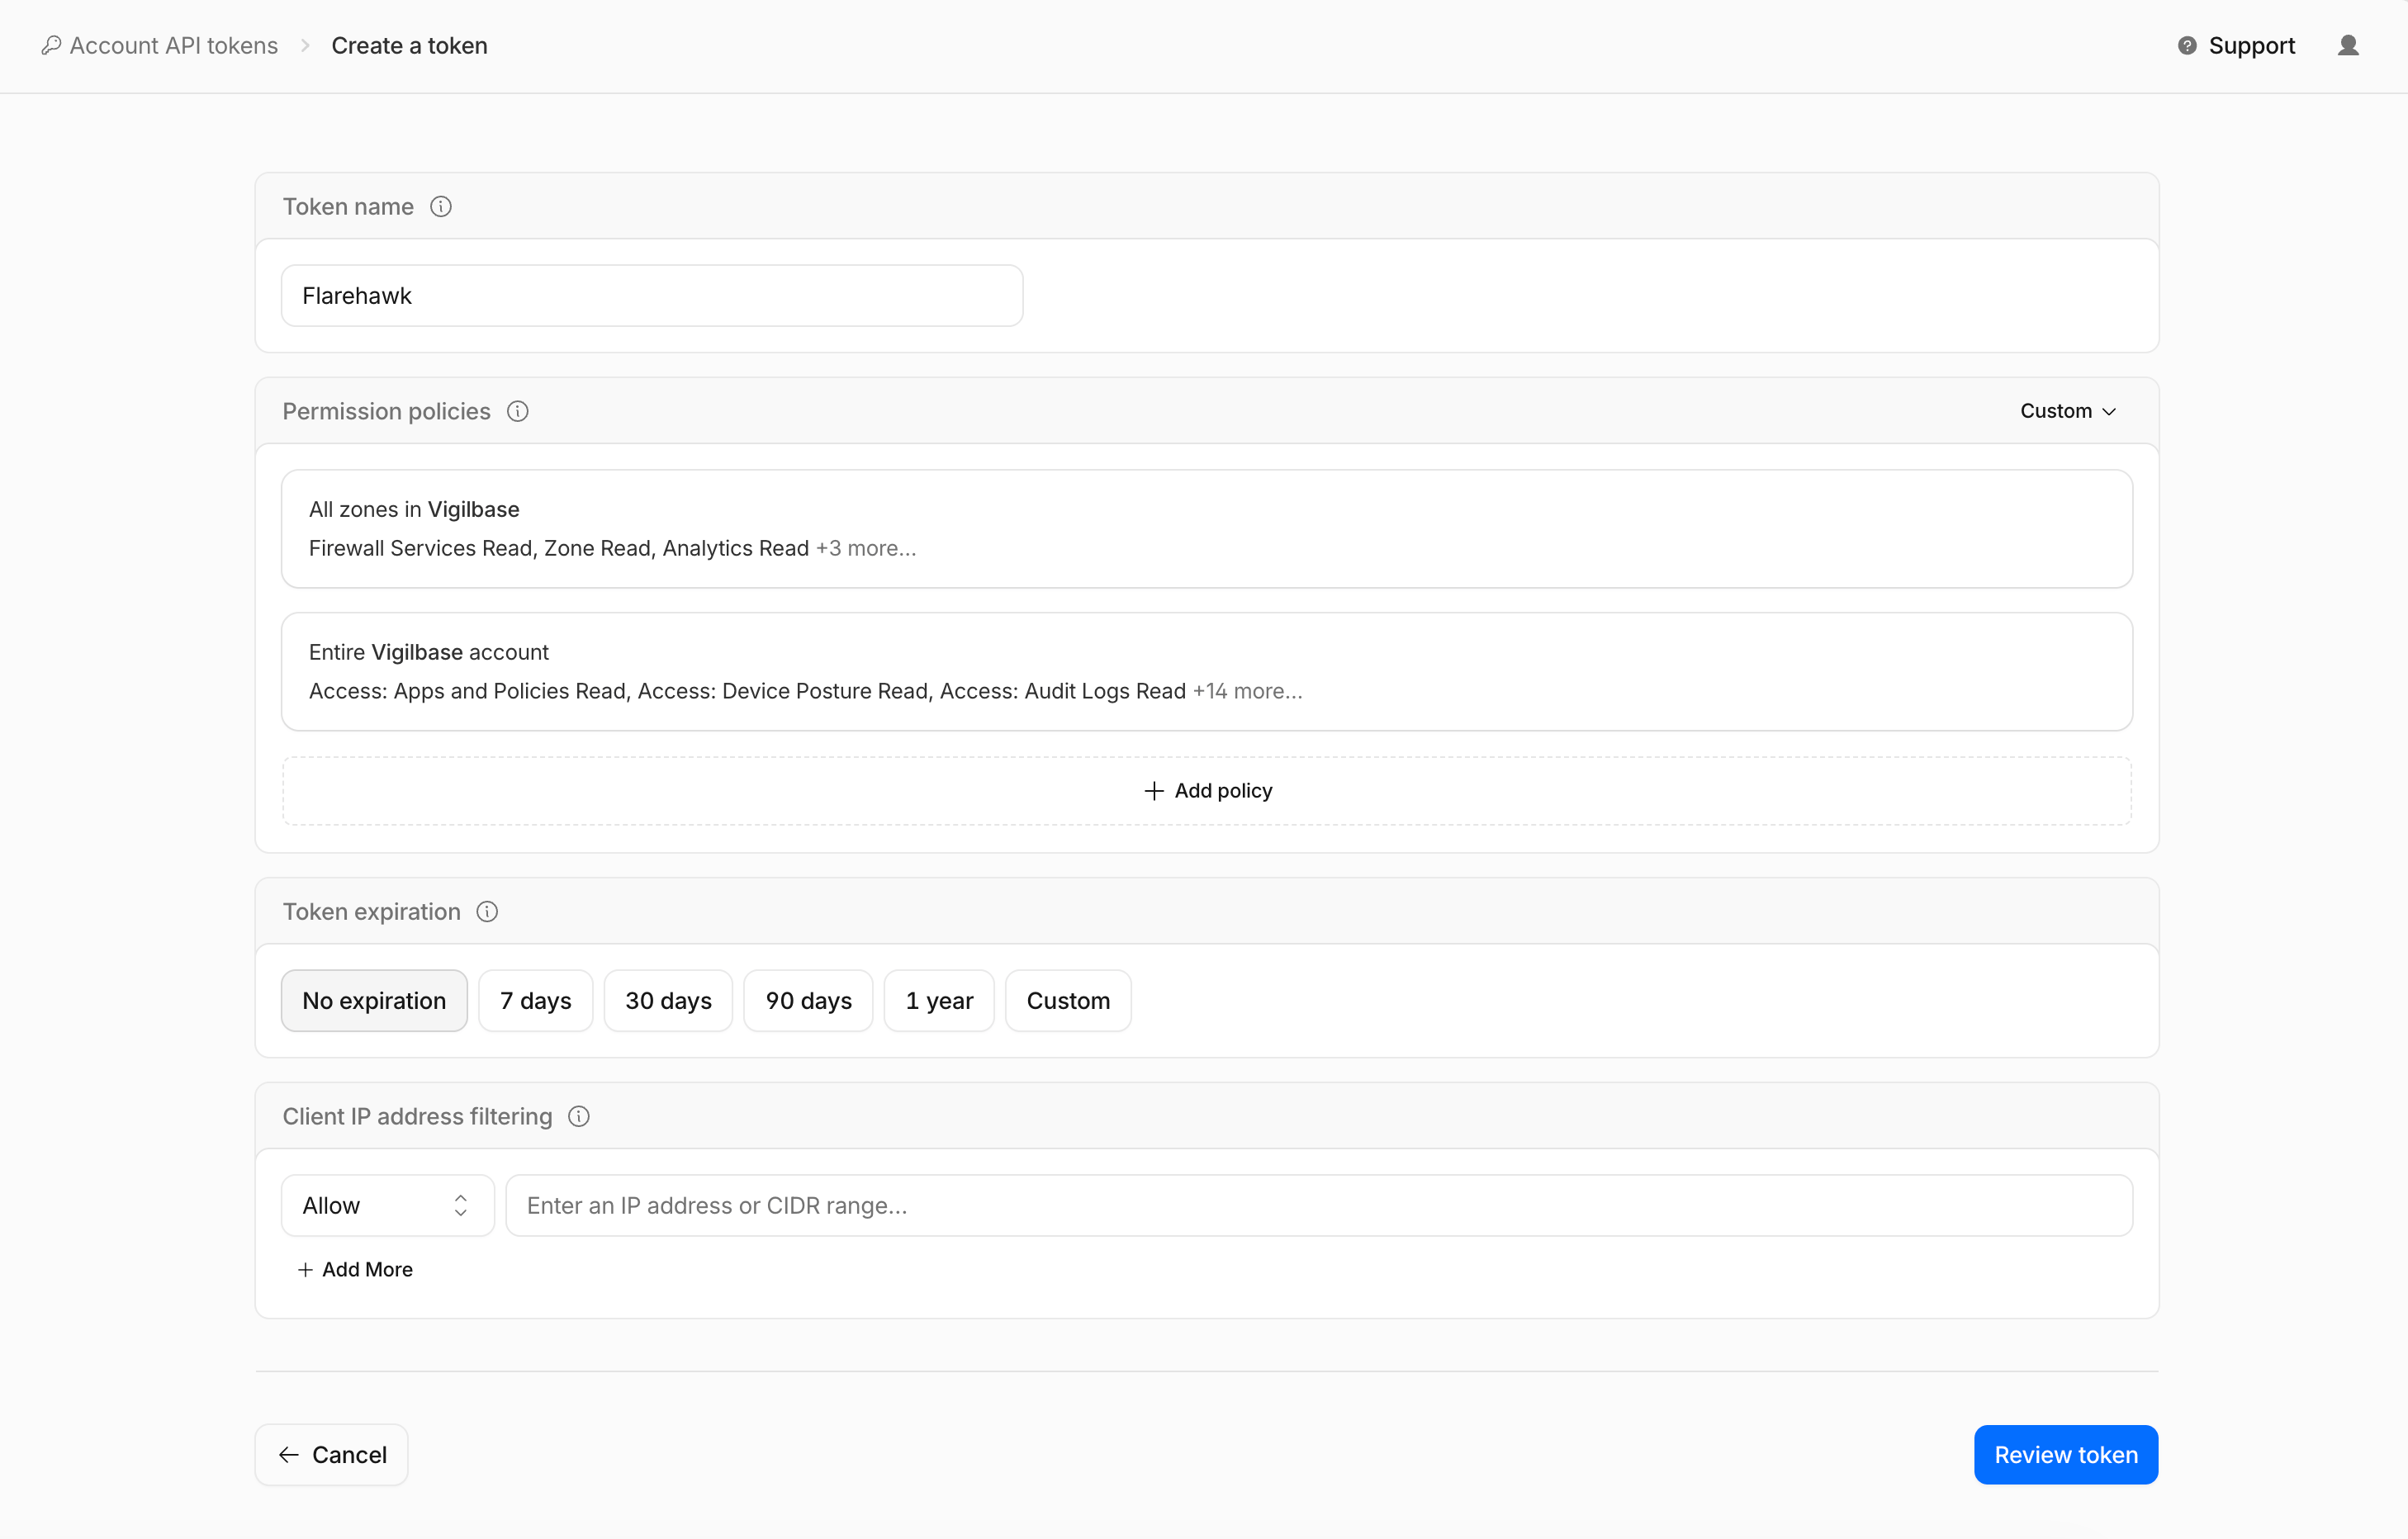
API token permissions (manual creation)
API token permissions (manual creation)
Account permissions
- Logs: Read and Edit (account-scoped Logpush)
- Zero Trust: PII Read (Access, Gateway, and DEX Logpush)
- Analytics: Read
- Account Rule Lists: Read and Edit
- Account Rulesets: Edit
- Workers Scripts: Edit
- Zone: Read
- DNS: Read
- Logs: Edit (zone-scoped Logpush)
- WAF: Read and Edit
- Workers Routes: Edit
3
Select assets and datasets
After authentication succeeds, Flarehawk lists compatible assets — your Cloudflare account and its zones. Choose which datasets to enable for each asset.Enterprise zones use managed Logpush. Pro and Business zones use the managed Worker path. Click Setup connection when you are ready to provision.
Cloudflare limits how many Logpush jobs each account or zone can run. Flarehawk checks remaining capacity and only offers datasets you can enable without exceeding the limit.
4
Verify ingestion
Generate traffic through your zones, then check Monitor → Logs or Monitor → Analytics. Connection status should move to Verified or Active once events arrive — typically within a few minutes under normal traffic.
What Flarehawk provisions automatically
Enterprise zones — Managed Logpush
Enterprise zones — Managed Logpush
Flarehawk creates independent Logpush jobs per connected Enterprise zone for each enabled dataset and recreates jobs if they are accidentally deleted in Cloudflare.
Pro / Business zones — Managed Worker
Pro / Business zones — Managed Worker
Flarehawk deploys and maintains a Worker on your account that forwards request and security events to Flarehawk. The Worker is updated by Flarehawk — you do not publish Worker code yourself.
Sync and updates
From the connection detail page, use Sync to rediscover assets, rebuild missing Logpush jobs, and repair worker routes after changes in Cloudflare.Troubleshooting
Connection stays pending for more than 10 minutes
- Confirm the API token (if used) includes Logs Edit and Workers Scripts Edit at the account level, or reconnect via Login with Cloudflare.
- Verify the token or OAuth grant targets the correct Cloudflare account.
- Revoke and recreate the token, or disconnect and reconnect via OAuth.
No logs after the connection is verified
- Low-traffic zones — generate a few test requests and wait up to two minutes.
- Revoked or rotated token — update credentials on the connection or sign in again with Cloudflare OAuth.
- Pro / Business zones — confirm the Flarehawk Worker is not disabled in the Cloudflare Workers dashboard.
Revoking access
Revoke the API token under My Profile → API Tokens in Cloudflare, or disconnect the connection in Flarehawk under Manage → Connections. Flarehawk pauses delivery and can clean up provisioned Logpush jobs and Worker routes when you remove the connection.Next steps
Detection rules
Learn which rules Flarehawk applies to Cloudflare HTTP and WAF events.
Incidents
Triage alerts and apply mitigations from the dashboard.